[ad_1]
The Full Windsor Knot. It’s a knot with pedigree but men often think it’s difficult to tie. This isn’t true though, you just need a straightforward tutorial.
Gents, today I’m showing you how to tie a double Windsor knot.
Here’s what we’re covering today
The Double Windsor Knot – History

The Windsor knot is sometimes known as the Full Windsor knot or Double Windsor knot. This is to distinguish it from the smaller Half Windsor knot. It is the largest of the four most popular necktie knots.
The Full Windsor knot creates a comfortable space between the collar and the neck while holding the tie in place.
Stemming from the royal heritage of the English, this knot enjoys a large prestige when worn. Therefore it is largely a power knot for business.
The Duke of Windsor, Prince Edward, never actually used the Windsor knot. He favored a wide triangular, Four-In-Hand knot with an extra thick tie. The Windsor knot was an imitation by the public to achieve his trendsetting style with even an ordinary tie. It is believed that the Duke’s father, George V invented the Windsor knot.
The Windsor knot also carries a bit of controversy. In the 20’s and 30’s, America fell in deep infatuation with all things fashionable that the Duke (at that time Prince Edward) did. At a 1936 demonstration of how to tie a Windsor knot in America, two steps were reversed. This created an impossibly complex knot.
Nobody knows whether this was a hoax or an honest mistake. But it has led to the mistaken belief that learning how to tie a Windsor knot is exceedingly difficult. This just isn’t true though as the guide below shows!
The Double Windsor Knot – Description

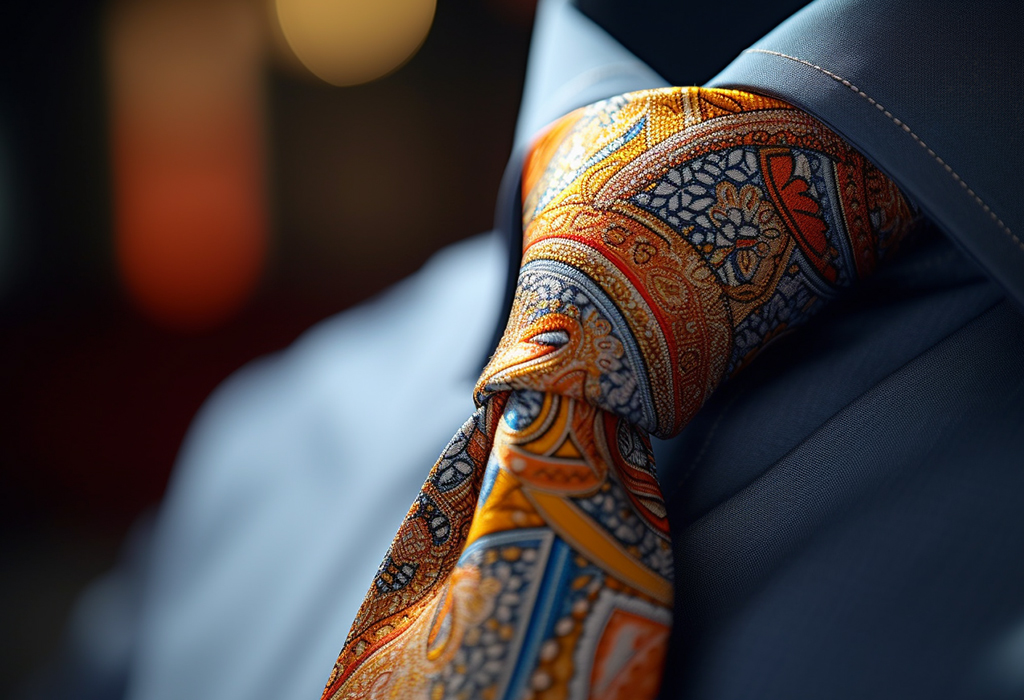
The Full Windsor is a very large symmetrical triangular-shaped knot. While the knot is self-releasing, it does not slip when tied correctly. The loops which form the back of the knot allow a bit of space between the collar line and the necktie making the Windsor very comfortable to wear.
Properly tie a double Windsor knot and you have all the following advantages:
- Creates a firm knot with a symmetrical shape.
- It has a very large triangle that compliments a spread or cutaway collar.
- A large and thick knot like the Full Windsor can distract attention away from the wearer’s face, it best compliments a strong square, or round face, or one with facial hair.
- For correct wear, the tie should be at least 4 centimeters (about 1.6 inches) longer than a conventional tie.
- The thick knot at the collar in a Full Windsor uses a lot of fabric. Use a classic, long silk tie to tie it. Avoid tweed or knitted ties as they will be too bulky for this knot.
- Full-Windsor knots go best at highly formal events, such as weddings or business meetings with highly important or powerful individuals.
- This should be the go to knot for men who are stout or have wider necks. The Windsor will look appropriately proportional with your face and build.
- Use darker tones and more spaced-out patterns with this knot. The Windsor can appear overwhelming when the tie has bright or gaudy patterns.
- Since the Full Windsor is larger, it also appears highly formal.
- Wear the Windsor any time you have a tie with plenty of spare length and you want a thick, full-bodied knot.
Did you know that a Full Windsor is 25% larger than the Half Windsor? Click here to discover the difference between a half and double Windsor.
How To Tie A Double Windsor Knot – Step By Step
Follow these 11 steps and with practice, you’ll be tying the classic Full Windsor knot or Double Windsor Knot in well under two minutes!

- Drape the necktie around your collar with the wide end on the right hanging 4-6 inches lower than your waistband.
- Cross the wide end horizontally in front of the slim end, making an X-shape just below your chin.
- Tuck the wide end up and beneath the loop around your neck, coming out point-upward behind the X. Use one finger to hold the X in place.
- Pull the wide end all the way down.
- Bring the wide end around behind the knot and pass it horizontally from right to left.
- Flip the wide end tip upward and tug it diagonally across the front of the knot.
- Loop the wide end over the top of the loop around your collar and bring it back down. It should emerge on the left of the thin end.
- Bring the wide end horizontally across the front of the knot, from left to right. This forms a horizontal band. Tuck a finger through it and hold it in place.
- Bring the wide end underneath the loop one more time, around the collar with the tip aiming upward.
- Turn the wide end downward and slide the tip through the horizontal loop you saved with your finger in step 8.
- Pull the wide end all the way down and smooth out any creases or slack in the knot.

Because the Full Windsor is on the larger end of necktie knots, it has a classic feel and shows you know your business. Use this knot to project an image of power, confidence and authority.
Looking for a shorter explanation? Check out my infographic here.
Once you’ve mastered this knot, it’s time to broaden your skills by learning how to tie it on someone else!
Click below to watch the video – Perfect Power Tie Knot? | How to Tie A Double Windsor Neck-Tie
[ad_2]
Source link

Hi! I’m a dedicated health blogger sharing valuable insights, natural remedies, and the latest scientific breakthroughs to help readers lead healthier lives. With a holistic approach to wellness, I empower individuals with accessible and actionable content, debunking myths and offering practical tips for incorporating healthy habits.